
Iron-On Patches: How to Customize Any Jacket in 2026
A complete guide to iron-on patches for streetwear customization — placement, technique, best patches, and how to make them actually stick permanently.
Why Patches Are Back (Again)
Custom patches on jackets aren't new. Punk did it in the '70s. Skaters did it in the '90s. Hypebeasts did it in the 2010s. But in 2026, patching is having a moment that feels less about subculture signaling and more about personal expression in a sea of identical fast-fashion fits.
When everyone's wearing the same Zara jacket and the same basic sneakers, a patched-up denim or work jacket becomes a statement of ownership. This is mine. Nobody else has this exact combination. You can't algorithm your way into somebody else's patch layout.
The barrier to entry is also absurdly low. An iron, a jacket, and $10-30 worth of patches. That's it. No sewing machine. No special skills. If you can press a button on an iron, you can do this.
Let's walk through everything you need to know to do it right.
Choosing Your Canvas
Not every jacket takes patches well. The fabric matters more than you'd think.
Best Fabrics for Iron-On Patches
Denim — The gold standard. Cotton denim provides excellent adhesion for iron-on patches because the heat-activated adhesive bonds well with natural fibers. The texture also hides any slight imperfections in application. A classic denim trucker jacket is basically designed to be patched.
Canvas/Cotton Work Jackets — Carhartt-style chore coats and canvas work jackets are perfect. The heavy cotton takes patches beautifully and the workwear aesthetic pairs naturally with patch customization.
Heavy Cotton Twill — Military-style jackets, BDU shirts, and heavy cotton overshirts all work well. The dense weave gives the adhesive something to grip.
Fabrics to Avoid
Nylon/Polyester — Synthetic fabrics have a low melting point. The heat required to activate iron-on adhesive can literally melt the jacket. If you absolutely need to patch a synthetic jacket, sew-on patches are your only option.
Leather/Faux Leather — Iron + leather = ruined leather. No exceptions. Use sew-on or pin-back patches only.
Stretchy/Spandex Blends — The adhesive will crack and peel as the fabric stretches. Even if it holds initially, it'll fail within a few wears.
Anything Waterproof/Coated — DWR coatings and waterproof membranes prevent the adhesive from bonding with the actual fabric fibers. It'll seem like it worked and then fall off the first time you move.
The Thrift Strategy
Here's the real move: hit your local thrift store or check out our thrift guide and grab a $15-25 denim or work jacket specifically to patch. If the application goes wrong, you're out pocket change. If it goes right, you've got a one-of-one custom piece for under $50 total.
Some of the best patch jackets start as beat-up vintage pieces. Fading, slight distressing, and a worn-in feel actually make patches look more natural, like the jacket has history.
Patch Types Explained
Not all patches are created equal, and the type you choose affects how you'll apply them.
Embroidered Iron-On Patches
The classic. Thread design on a twill backing with heat-activated adhesive on the back. These are the most durable iron-on option and look the best on jackets. The raised texture of embroidery gives dimension that printed patches can't match.
Best for: Logos, symbols, text, bold designs
Woven Iron-On Patches
Thinner than embroidered, with a flatter profile. The design is woven into the fabric rather than stitched on top. These work well for detailed designs and sit more flush against the jacket.
Best for: Detailed artwork, designs with small text, subtle placement
Chenille Iron-On Patches
The fuzzy, textured patches you see on varsity jackets. Chenille patches are thick — sometimes 3-4mm — and add significant texture. They're making a major comeback in streetwear because the tactile quality stands out in photos and in person.
Best for: Letters, numbers, retro-style designs, varsity aesthetics
Printed/Sublimated Patches
Designs printed directly onto patch fabric. These can achieve photographic detail that embroidery can't, but they tend to be less durable. The printed surface can crack or fade with washing.
Best for: Photo-realistic designs, full-color artwork, temporary customization
Tools You Need
Let's keep this simple. You don't need specialty equipment.
Essential
- Household iron — No steam holes on the soleplate is ideal, but any iron works. Set to the "cotton" or highest dry heat setting (around 350-400°F).
- Thin cotton cloth — A pillowcase, a flour sack towel, or a plain cotton bandana. This goes between the iron and the patch to prevent scorching.
- Hard, flat surface — An ironing board works but isn't ideal because it's padded. A better option is a wooden cutting board or a piece of plywood on a table. The harder the surface, the more direct pressure reaches the adhesive.
- The patches — Obviously.
- The jacket — Also obviously.
Optional but Helpful
- Fabric glue (Beacon Fabri-Tac) — For reinforcing edges after ironing
- Sewing kit — For permanent reinforcement stitching around the edges
- Ruler or measuring tape — For symmetrical placement
- Tailor's chalk or washi tape — For marking placement before committing
Step-by-Step Application
Step 1: Plan Your Layout
Before you heat up the iron, lay every patch you're considering on the jacket. Try different arrangements. Take photos of each layout with your phone so you can compare.
Placement principles:
- Chest patches: Left chest (heart side) is the classic placement for a single emblem. It reads as intentional and military-inspired.
- Back patches: Large back patches should be centered. Use a ruler. Eyeballing center placement always ends up slightly off.
- Sleeve patches: Upper sleeve, centered between the shoulder seam and the elbow. This is the military patch position and it looks correct because your brain is trained to see patches there.
- Scattered/organic: If you're going for the punk-rock "covered in patches" look, start from one area and expand outward. Random scattered placement usually looks more chaotic than intended.
The rule of odd numbers: Layouts with 3, 5, or 7 patches tend to look better than even numbers. Odd groupings feel more organic.
Step 2: Prep the Jacket
Turn the area you're patching inside out and iron it flat. Wrinkles under patches create air pockets that prevent proper adhesion. The fabric should be warm and perfectly flat when you apply the patch.
If the jacket is new, wash it once first. Factory sizing and coatings can interfere with adhesive bonding.
Step 3: Position and Pin
Once you've decided on placement, use a couple of straight pins to hold each patch in position. Or use small pieces of washi tape. The goal is to prevent the patch from shifting when you start ironing.
Step 4: Iron-On Application
- Set the iron to the highest dry heat setting (no steam)
- Place the thin cotton cloth over the patch
- Press the iron straight down — don't slide it
- Apply firm, even pressure for 30-45 seconds
- Lift the iron and move to the next section of the patch (for larger patches)
- Flip the jacket inside out and iron the backside of the patch area for another 15-20 seconds
- Let it cool completely before checking adhesion
Critical mistakes to avoid:
- Don't use steam. Water weakens the adhesive.
- Don't slide the iron across the patch. This can shift the patch or create wrinkles.
- Don't skip the backside ironing. Heat from both sides ensures the adhesive fully melts into the fabric fibers.
- Don't check adhesion while it's still warm. The adhesive needs to cool and set.
Step 5: Reinforce (Don't Skip This)
Here's the truth about iron-on adhesive: it will eventually fail. Maybe after 10 washes, maybe after 30, but it'll fail. If you want your patches to be genuinely permanent, you need to reinforce them.
Option A: Fabric glue — Run a thin bead of fabric glue around the edge of the patch after the iron-on adhesive has set. Let it dry 24 hours before wearing. This seals the edges where peeling typically starts.
Option B: Edge stitching — The most permanent solution. Hand-stitch around the perimeter of the patch using a simple whip stitch or running stitch. Matching thread color makes it subtle; contrasting thread makes it a design element.
Option C: Both — Glue the edges AND stitch for nuclear-level permanence. This is what military patches get, and those things survive combat zones.
Design Philosophy: Making It Look Good
Slapping patches on a jacket randomly is easy. Making a patch jacket that looks intentional takes some thought.
The Curated Approach
Pick a theme or color palette. Military and travel patches on a olive drab field jacket. Skateboard and music patches on a black denim jacket. Band patches and political pins on a beat-up Levi's. A coherent theme ties the whole piece together.
This doesn't mean every patch needs to be on-topic. One or two unexpected patches in an otherwise themed jacket create interest. But a jacket with a Supreme patch next to a Disney patch next to a military patch next to a band patch reads as "I bought a random patch bundle on Amazon."
Color Theory Matters
Your patches are sitting on a background color (the jacket). High contrast patches (bright on dark, dark on light) command attention. Low contrast patches (similar tones to the jacket) create subtlety.
Most people gravitate toward high contrast because it's attention-grabbing, but the best patch jackets usually have a mix. Some patches that pop, some that you notice on the second or third look.
Negative Space
Don't cover every square inch. Negative space — the visible jacket fabric between patches — is what makes each individual patch readable. A jacket with zero breathing room between patches just looks like a patch-fabric hybrid where nothing stands out.
The 60/40 rule works well: 60% jacket visible, 40% covered in patches. If you go beyond that, you're entering territory that requires serious design skill to pull off.
Where to Find Good Patches
Online Retailers
- Etsy — The best source for unique, small-batch patches. Search for specific themes and you'll find independent artists making patches you won't see on anyone else.
- Amazon — Good for basics and bulk packs. The assorted embroidered patch sets are solid for starting a collection cheaply.
- eBay — Vintage military and band patches. If you want authentic vintage pieces, eBay is the hunting ground.
Physical Stores
- Thrift stores (check near the sewing supplies)
- Military surplus stores
- Concert venues and festivals
- Skateshops
- Trade shows and flea markets
Custom Patches
If you want something truly unique, custom patch companies will make small runs (usually minimum 25-50 pieces) from your own design. Companies like Patches4Less and The/Studio offer custom embroidered patches starting around $1-3 per patch at quantity.
This is especially cool if you've got your own brand or design project going. Custom patches for your crew or brand turn a jacket into merch.
Care and Maintenance
Washing
Turn the jacket inside out before washing. Use cold water and a gentle cycle. The enemy of patch adhesive is heat + agitation, so minimize both. Air drying is ideal.
Repair
Patches will occasionally lift at the edges after repeated washing. When you notice an edge starting to peel, re-iron immediately (same technique as initial application). Catching it early prevents full patch failure.
Keep fabric glue in your toolkit. A quick edge touch-up takes 30 seconds and prevents the slow peel that eventually loses the whole patch.
Storage
Hang patch jackets rather than folding them. Folding creates crease lines through patches, which can crack embroidery and weaken adhesive bonds over time.
The Bigger Streetwear DIY Movement
Patches are just one entry point into the broader DIY customization trend that's defining streetwear in 2026. From graphic tee culture to hand-distressed denim to custom-dyed hoodies, the most interesting fits on the street right now are the ones that can't be bought off a rack.
The patch jacket is a perfect starter project because the barrier to entry is nearly zero, the results are immediate, and you can evolve the piece over time. Add a patch after a trip. After a show. After a moment that mattered. Over months and years, the jacket becomes a wearable timeline.
That's something no brand can sell you, and no algorithm can replicate.
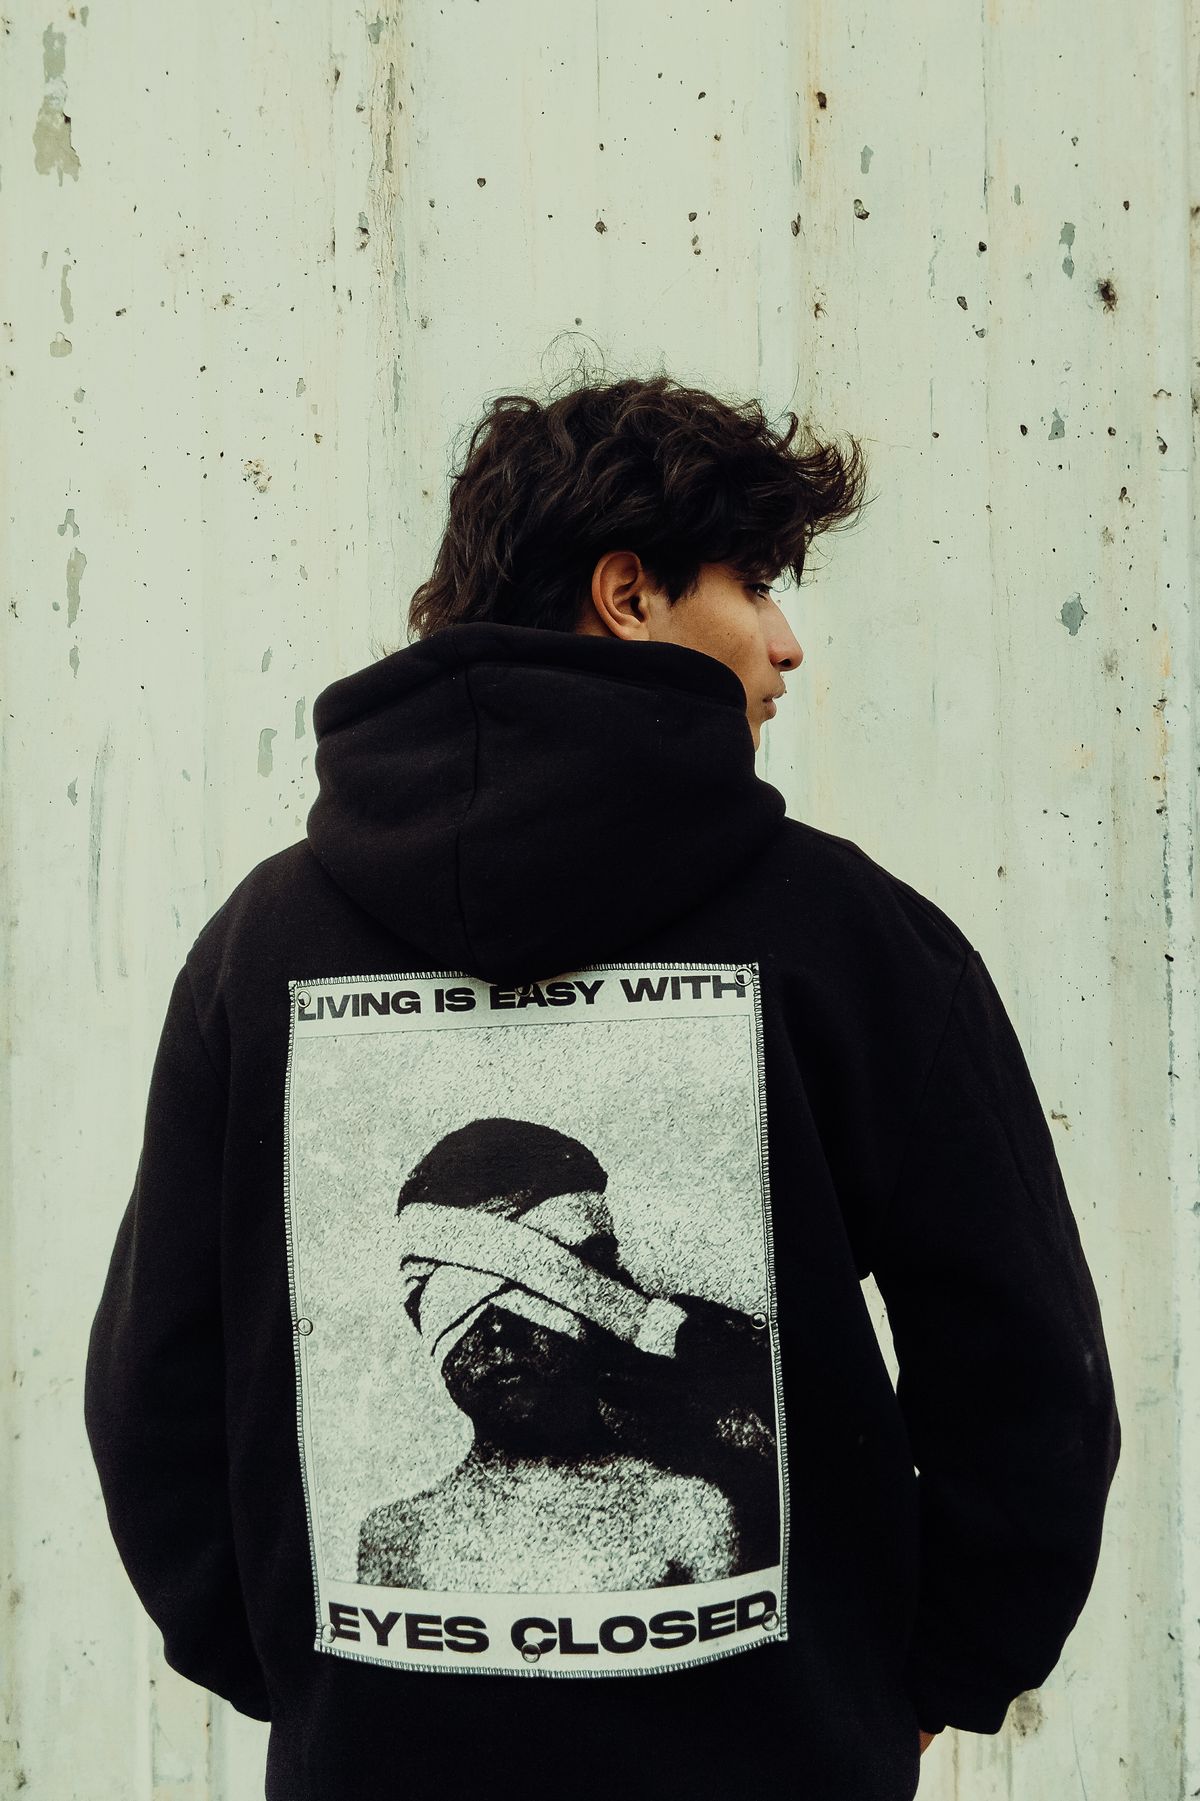
Complete your custom look with our guide to essential streetwear accessories and ring stacking for men.
RELATED READS
Best Heavyweight Hoodies for Streetwear in 2026 (400GSM+)
The definitive guide to 400GSM+ heavyweight hoodies — ranked by fabric weight, shrinkage, fit, and streetwear cred across every budget tier from $22 to $90.
G-Shock Watches for Streetwear: The 2026 Buying Guide
G-Shock is back as streetwear's essential wrist piece. The best models for 2026 — DW-5600, CasiOak, GD-100, solar, full metal — with styling and sizing notes.

The Only Sneaker Cleaning Guide You Will Ever Need
Stop ruining your sneakers with bad advice. This is the complete guide to cleaning, protecting, and storing every type of sneaker you own in 2026.