
How to Photograph Sneakers With Just an iPhone in 2026
You don't need a DSLR to take fire sneaker photos. Here's how to shoot your collection with just an iPhone, natural light, and a little know-how.
Scroll through any sneaker community and the photos that get the most engagement aren't the ones shot on $3,000 cameras with professional lighting rigs. They're the clean, well-composed iPhone shots that make a $120 shoe look like a museum piece.
The iPhone in your pocket right now — whether it's a 15, 16, or whatever model — is more than capable of producing professional-quality sneaker photography. The camera hardware on modern iPhones rivals dedicated cameras from five years ago. What separates good sneaker photos from bad ones isn't the equipment. It's knowing what to do with it.
This guide is for anyone who wants to document their collection, post better content, or start building a sneaker photography presence using nothing but the phone they already own.
The Foundation: Light Is Everything
Before we talk about angles, composition, or editing — we need to talk about light. Lighting accounts for roughly 80% of what makes a photo look professional or amateur. Get the light right and everything else becomes easier.
Natural Light Is Free and Superior
The best light source for sneaker photography is a window. Specifically, a large window with indirect sunlight. Not direct sun blasting through — that creates harsh shadows and blown-out highlights. Indirect light, like what comes through a north-facing window or any window on an overcast day, wraps around the shoe beautifully and reveals detail without harshness.
The setup: Place your shoe on a surface near a window. The window should be to the side of the shoe (not behind you, not behind the shoe). This side-lighting creates gentle shadows that give the shoe dimension.
Time of day matters: Early morning and late afternoon produce warmer, more flattering light. Midday sun is harder to work with unless it's overcast.
Avoid These Lighting Mistakes
- Overhead room lights. Fluorescent and LED ceiling lights create unflattering color casts and flat lighting.
- Direct flash. The iPhone flash makes everything look like a crime scene evidence photo.
- Mixed lighting. Window light plus room light creates competing color temperatures that confuse the camera's white balance.
If you're shooting at night and natural light isn't available, a $15 clip-on ring light will do more for your photos than any editing app.
Phone Ring Light — Shop on Amazon
Camera Settings You Should Actually Use
Lock Your Focus and Exposure
Tap and hold on the shoe in your camera app until "AE/AF Lock" appears. This locks the focus and exposure so they don't shift as you adjust your angle. It's the single most underused iPhone camera feature and it makes a massive difference in consistency.
Use the 1x or 2x Lens
The ultrawide lens (0.5x) distorts sneakers in unflattering ways — it makes the toe box look giant and the heel look tiny. Stick with the main 1x lens for most shots. The 2x (or 3x on Pro models) is excellent for detail shots where you want to fill the frame with a specific element like the outsole texture or stitching.
Shoot in Photo Mode, Not Portrait
Portrait mode's artificial blur can look great for people, but on sneakers it often blurs the wrong parts of the shoe and creates an uncanny, plasticky look. Shoot in regular Photo mode and control your depth of field through distance and composition instead.
Turn on the Grid
Go to Settings > Camera > Grid. The grid overlay helps you compose using the rule of thirds and keeps your horizons straight. Crooked sneaker photos scream amateur.
Use the Timer
Even small hand movements create blur. For the sharpest results, set your phone on a stable surface (or a $10 tripod), use the 3-second timer, and let the phone take the shot without your hands on it.
Flexible Phone Tripod — Shop on Amazon
The Essential Angles
Every sneaker deserves multiple shots from multiple angles. Here are the ones that matter:
The Three-Quarter View (The Hero Shot)
What it is: Camera positioned at roughly 45 degrees to the side and slightly above the shoe, capturing the toe, side profile, and top in one frame.
Why it works: This is the most flattering angle for any sneaker because it shows the most design detail in a single shot. You see the silhouette, the materials, the branding, and the proportions all at once.
Tips: Position the toe box slightly toward the camera. Make sure the entire shoe is in focus. This is the shot that goes first in any collection post.
The Side Profile
What it is: Camera directly to the side of the shoe at the same height as the midsole.
Why it works: The side profile is the sneaker's signature view — it's how shoes are designed and how they appear in product marketing. Clean side profiles are essential for comparison shots and for showing off the midsole and outsole.
Tips: Get the camera at shoe-level, not looking down. Place the shoe on a raised surface if needed so you're not lying on the floor. Keep the background clean and simple.
The Top-Down (Bird's Eye)
What it is: Camera directly above, looking straight down at both shoes.
Why it works: Top-downs show the shoe opening, tongue, lacing, and inside details. They also make great lifestyle shots when combined with a floor or ground texture and an outfit context.
Tips: Keep both shoes parallel and evenly spaced. Make sure you're not casting a shadow over the shoes — step to the side and extend your arm, or use the timer.
The Detail Shot
What it is: Close-up of a specific element — stitching, logo, texture, outsole pattern, tag.
Why it works: Detail shots separate casual snapshots from intentional photography. They show your audience that you appreciate the craftsmanship and specifics of the shoe.
Tips: Use the 2x or 3x lens for these. Get close enough to fill the frame. Focus is critical — tap to lock focus on the specific detail.
The On-Foot
What it is: Shoe on your foot, styled with an outfit.
Why it works: Context is everything. Seeing a shoe on-foot with pants that complement it tells a story that product shots can't. It helps your audience imagine wearing the shoe themselves.
Tips: Shoot looking down (the classic Instagram angle) or have someone shoot your full outfit. Cross your feet at the ankle for a more dynamic pose. Make sure the pants break properly around the shoe.
Background and Surface Game
Simple Backgrounds Win
The most effective sneaker photo backgrounds are the simplest: a clean floor, a white wall, a concrete surface. The shoe should be the subject — not competing with a busy background.
Best surfaces:
- White poster board (buy at any dollar store)
- Light grey concrete
- Wooden flooring with consistent grain
- Clean black surface for light-colored shoes
Worst surfaces:
- Patterned carpet
- Messy rooms (crop it out or clean up)
- Busy outdoor scenes without purpose
The Sweep Background
For the most professional look without any equipment, lean a large piece of white poster board against a wall so it curves smoothly from vertical to horizontal. Place the shoe on the horizontal part. This creates a seamless "infinity" background with no visible corner or line. It's the same technique product studios use.
White Poster Board — Shop on Amazon
Editing: Less Is More
The Apps Worth Using
Lightroom Mobile (Free): The best free photo editing app. Period. The adjustment sliders are intuitive, and presets let you create a consistent look across your feed.
VSCO: Good film-inspired presets that give sneaker photos a more editorial feel.
Snapseed: Google's free editor with powerful selective editing tools. Great for adjusting specific areas of the photo.
The Editing Workflow
- Straighten and crop. Get the horizon level and the composition tight.
- Adjust exposure. Brighten slightly if needed — sneaker photos benefit from being well-lit.
- Increase contrast slightly. +10 to +20 on the contrast slider adds depth.
- Reduce highlights, boost shadows. This recovers detail in bright white midsoles and dark outsoles.
- Bump clarity or texture. +5 to +15 reveals material detail on the shoe's surface.
- Adjust white balance. Make sure white is actually white. Nothing kills a sneaker photo like a yellow color cast.
- Sharpen. A small amount of sharpening (+20-30) makes the photo crisper.
What Not to Do
- Don't over-saturate. Turning the saturation to max makes your shoes look like a cartoon.
- Don't use heavy filters. The shoe should look like the shoe, not like a Polaroid from 1974.
- Don't add fake blur in post. It always looks fake. If you want background blur, get closer to the shoe.
- Don't use HDR. iPhone's HDR is great for landscapes, but on sneaker closeups it can create halos and unnatural contrast.
Content Ideas for Your Collection
The Rotation Post
Lay out your top 5-7 sneakers in a flat lay. Use the top-down angle, keep the spacing even, and make sure all shoes point the same direction. Caption with your ranking or the story behind each pair. Always a crowd-pleaser.
The Comparison Post
Got two similar shoes? Shoot them side by side from the same angle with the same lighting. Adidas Originals vs Performance, Nike Dunk Low vs SB Dunk, New Balance 990 vs 2002R — comparison content performs well because it's genuinely useful.
The Unboxing Sequence
Document the unbox: box shot, tissue paper reveal, first side profile, on-foot. Four photos that tell a story. Works for any pickup, from budget finds to grails.
The Detail Story
Pick one shoe and shoot 5-6 detail shots: the outsole tread, the tongue tag, the heel counter, the stitching closeup, a material texture shot, and the insole. Post as a carousel. This content shows expertise and appreciation that resonates with serious sneaker people.
The Lifestyle Shot
Shoe in context: on-foot walking down a street, sitting on a bench, next to a cup of coffee on a table. These shots feel more personal and editorial. They tell the story of how the shoe fits into your actual life, not just your shelf. Pair with pieces from your streetwear wardrobe.
Advanced Tips
Use Burst Mode for Action Shots
If you're shooting someone walking or jumping in sneakers, hold the shutter button down (or press and swipe left on newer iPhones) to capture burst mode. You can select the sharpest frame later.
Clean Your Lens
This sounds obvious and it's the most commonly ignored tip. Your phone lives in your pocket with lint, oils, and debris. A quick wipe with a microfiber cloth before shooting makes a visible difference.
Shoot More Than You Think You Need
Professional photographers take hundreds of shots to get one great image. Don't take three photos and expect magic. Shoot from multiple angles, adjust the position slightly, change the lighting. Review everything later and pick the best.
Create a Consistent Aesthetic
If you're building a social media presence around sneaker photography, consistency matters more than any single great shot. Use the same editing style, similar backgrounds, and consistent angles across your posts. Create presets in Lightroom that you apply to every image so your feed looks cohesive.
Display Your Collection
Great photos deserve great display — both digitally and physically. If you want your sneakers looking sharp off-camera too, check our sneaker display ideas guide for shelving, cases, and storage solutions.
The Takeaway
The gap between iPhone sneaker photos and professional sneaker photos is smaller than it's ever been. What separates them now is knowledge, not equipment. Understand light, learn the angles, keep your editing subtle, and shoot more than you think you need.
Your collection deserves better than a blurry photo in bad lighting. Give it the documentation it deserves.
Browse the latest at the Wear2AM shop.
RELATED READS
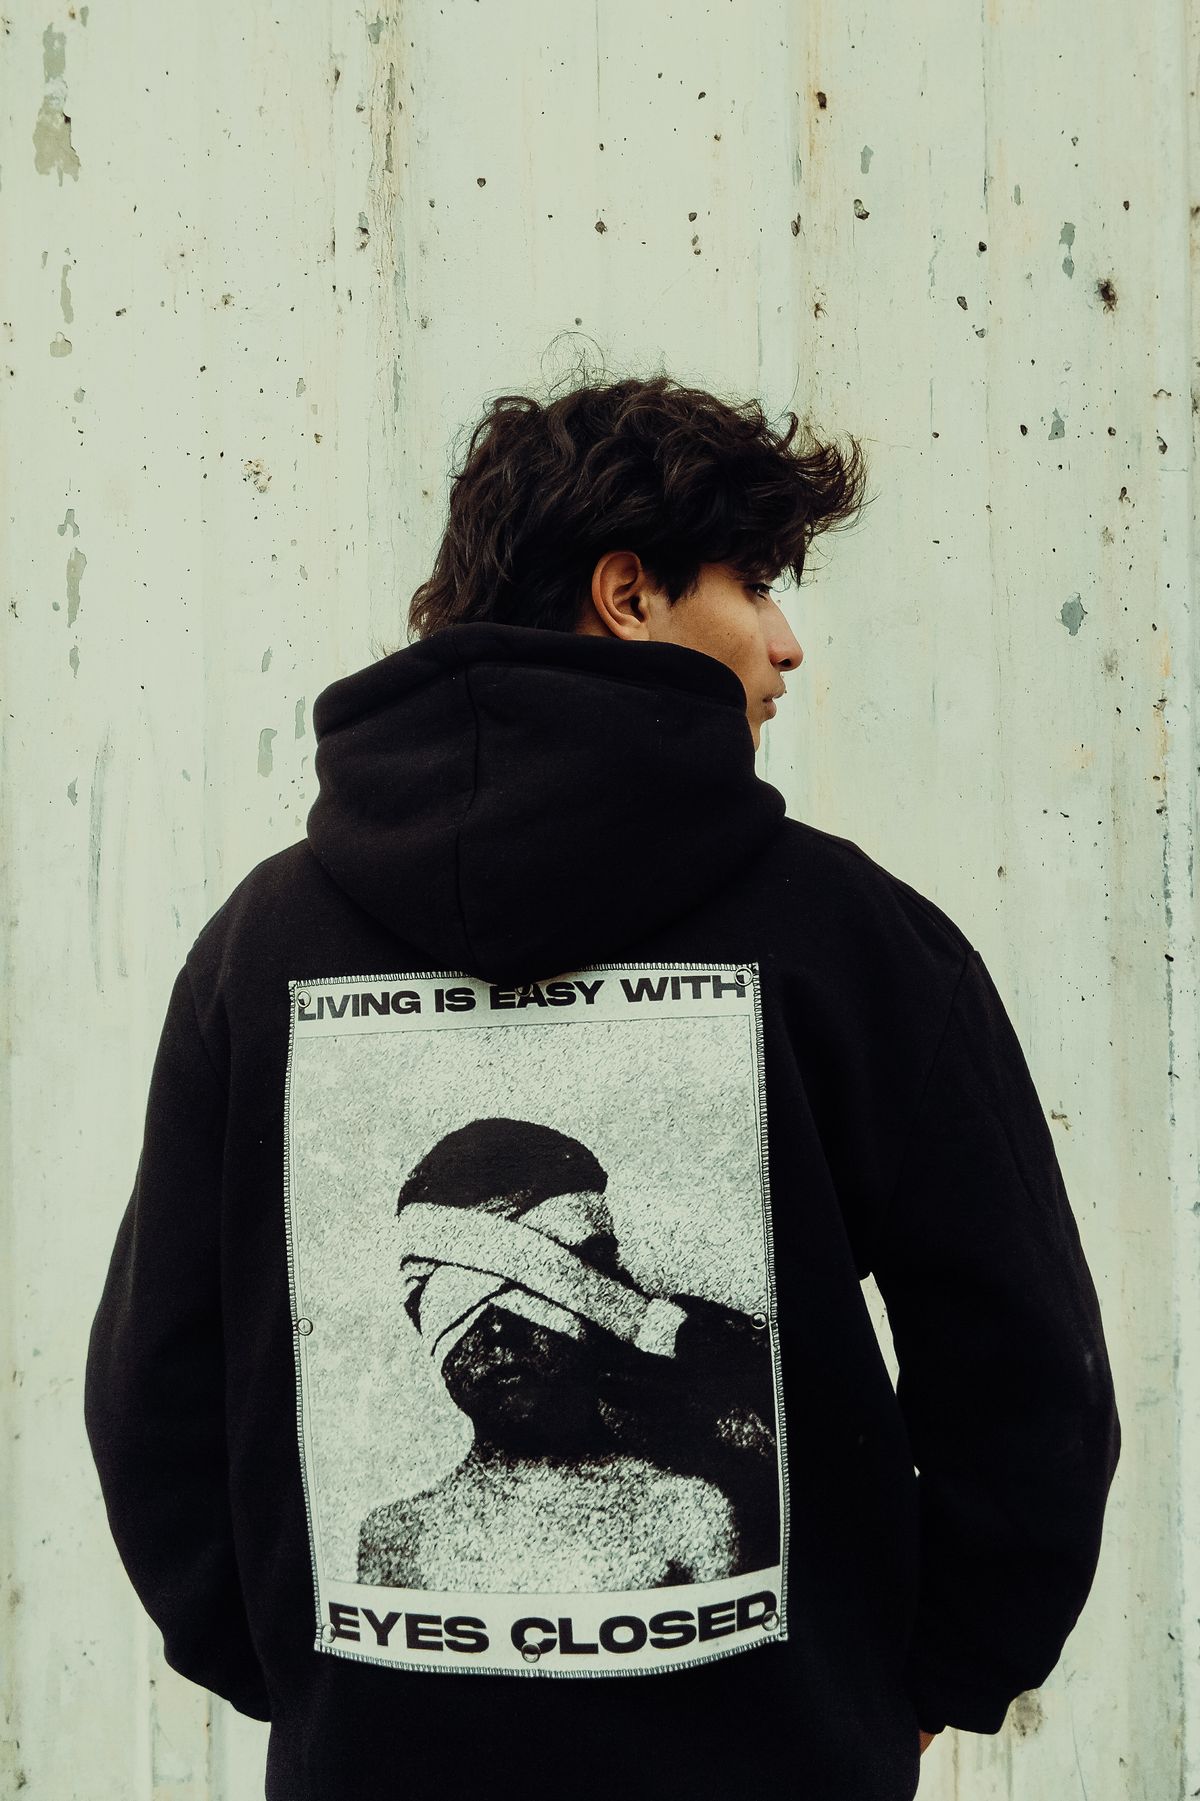
Best Heavyweight Hoodies for Streetwear in 2026 (400GSM+)
The definitive guide to 400GSM+ heavyweight hoodies — ranked by fabric weight, shrinkage, fit, and streetwear cred across every budget tier from $22 to $90.
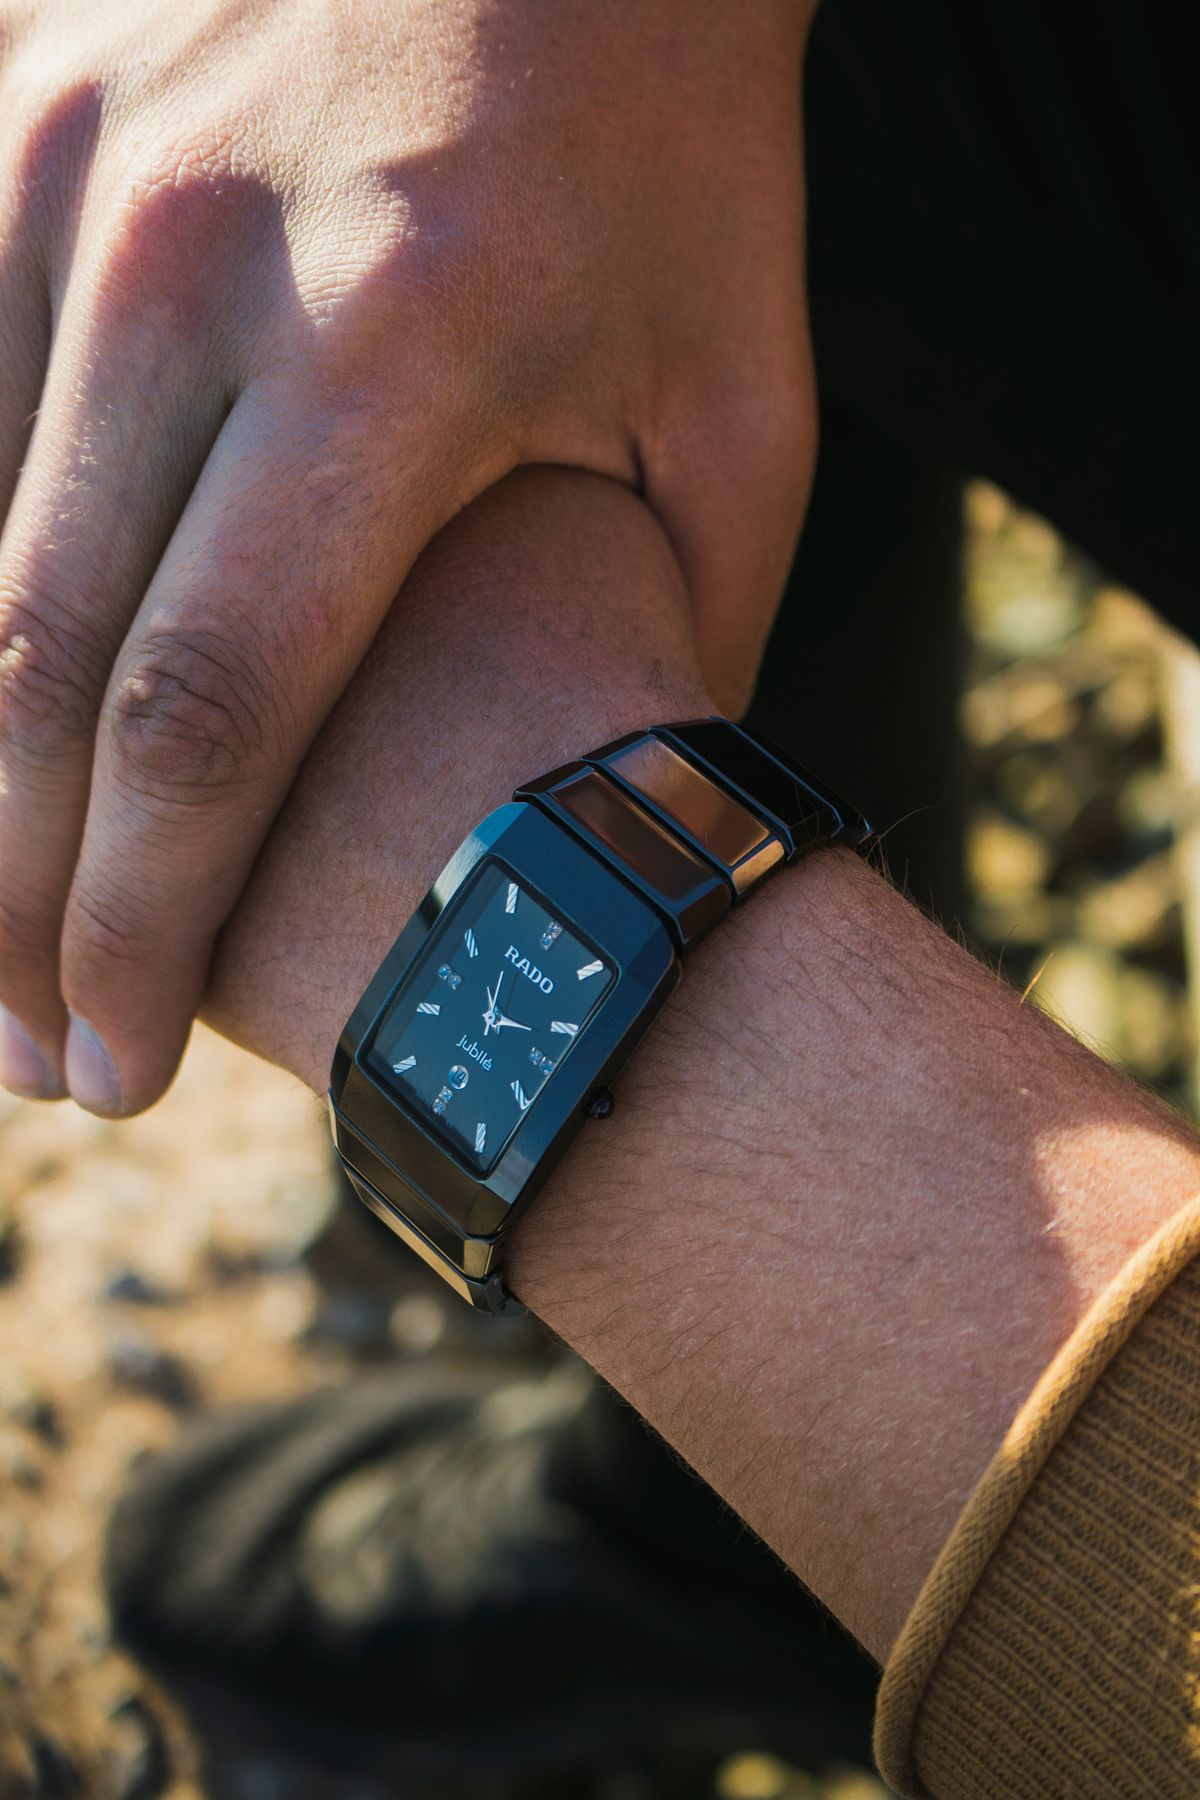
G-Shock Watches for Streetwear: The 2026 Buying Guide
G-Shock is back as streetwear's essential wrist piece. The best models for 2026 — DW-5600, CasiOak, GD-100, solar, full metal — with styling and sizing notes.

The Only Sneaker Cleaning Guide You Will Ever Need
Stop ruining your sneakers with bad advice. This is the complete guide to cleaning, protecting, and storing every type of sneaker you own in 2026.