
How to Take a Sneaker Wheel Photo: The Instagram Guide
The complete guide to creating a sneaker wheel photo for Instagram — layout techniques, lighting, camera settings, and editing tips for the perfect flat lay.
The Sneaker Wheel: Why It Works
The sneaker wheel is one of the most recognizable content formats in sneaker culture. You've seen it hundreds of times: shoes arranged in a circular pattern, shot from directly above, posted with a caption like "rotation" or "current lineup." It's been a staple of sneaker Instagram since the platform's early days, and it persists because it works.
Why? Because a sneaker wheel does three things simultaneously:
- Shows range. Your collection is visible at a glance. Variety, color range, brand diversity — it's all on display.
- Creates visual impact. The circular pattern is inherently eye-catching. It's symmetrical but varied, organized but colorful.
- Invites engagement. Every sneaker wheel post gets the same comments: "What's the one at 3 o'clock?" "ID on the blue pair?" It's a format that generates conversation by design.
But there's a massive quality gap between a well-executed sneaker wheel and a sloppy one. The difference is technique, not equipment. You don't need a DSLR or a studio. You need to understand layout, lighting, and angles.
Step 1: Choose Your Sneakers
How Many Pairs
The sweet spot is 6-12 pairs. Fewer than 6 looks sparse — the wheel has gaps that feel incomplete. More than 12 gets crowded, and individual shoes become too small to appreciate in the final image.
If you've got more than 12 pairs you want to feature, consider doing a "series" — multiple wheels organized by color, brand, or type.
Curation Matters
Don't just throw every shoe you own into the wheel. Curate for:
- Color balance: Distribute colors evenly. Don't cluster all your black shoes together. Alternate light and dark around the wheel for visual rhythm.
- Size variety: Mix low-tops and high-tops. Different silhouettes at different points in the wheel create visual texture.
- Brand mix: Unless you're specifically showcasing one brand's range, mixing brands shows you're a sneakerhead, not a brand loyalist.
Which Shoe Faces Out
Convention: the outer edge of the wheel shows the lateral (outside) profile of each shoe. This is the "display" side — it typically has the most prominent branding (Nike Swoosh, adidas stripes) and gives the most recognizable view of the silhouette.
Some people do wheels with toes pointing out (showing the toe box) or heels pointing out (showing the heel tab — the heel tab trend makes this increasingly popular). But the classic lateral view remains the standard.
Step 2: The Surface
Best Surfaces
Light hardwood floor — The warm tones complement most sneaker colorways, and the wood grain adds subtle texture without competing with the shoes.
White or light grey background — Maximum contrast. Makes colorful sneakers pop. A large white posterboard, a white bedsheet, or a clean light-colored floor works.
Concrete — Gives an industrial, streetwear-appropriate feel. Natural concrete with some texture is better than polished concrete, which can create unwanted reflections.
Surfaces to Avoid
Carpet — Texture competes with the shoes. Shoes sink in slightly, making some taller and some shorter. The overall look is always amateur.
Grass — Looks great in theory, terrible in practice. Blades of grass poke between shoes, the green competes with colorways, and the uneven surface makes layout impossible.
Patterned anything — Tiles, patterned rugs, busy surfaces. The eye can't separate the shoes from the background.
The Clean Factor
Whatever surface you choose, clean it. Dust, hair, crumbs — they're invisible to the naked eye and enormous in photos. Sweep or wipe the surface immediately before laying out shoes. This is the single highest-impact thing you can do for photo quality.
Step 3: The Layout
The Basic Wheel
- Start with one shoe in the center as your anchor (optional — some wheels have an empty center)
- Place shoes in a circle with the soles facing inward and the uppers facing outward
- Each shoe should be equidistant from the center and equidistant from its neighbors
- Angle each shoe so the lateral profile faces the camera (roughly perpendicular to the radius of the circle)
Getting the Spacing Right
Equal spacing is what separates a good wheel from a great one. Here's the method:
For a 12-shoe wheel, imagine a clock face. Place one shoe at each hour position. This gives you automatic equal spacing. For other numbers, divide 360 by your shoe count to get the angle between each shoe:
- 6 shoes = 60° apart
- 8 shoes = 45° apart
- 10 shoes = 36° apart
- 12 shoes = 30° apart
You don't need a protractor. Place the first shoe at 12 o'clock, the second directly opposite at 6 o'clock. Then fill in the midpoints. Then fill in the remaining gaps. Eyeball accuracy is fine — perfect mathematical precision isn't necessary, but rough symmetry is.
The Center Piece
The center of the wheel is prime real estate. Options:
- Empty space — Clean, minimal, lets the circle speak for itself
- A single sneaker — Your favorite or most valuable pair gets the spotlight
- An accessory — Sneaker cleaning kit, a sneaker box, a branded item
- Your feet — Standing in the center wearing one pair while the others radiate out. This makes the photo personal but is harder to execute.
Lacing Matters
Before shooting, adjust every shoe's laces. Tuck excess lace inside the shoe or arrange it neatly. Loose laces that extend outside the shoe silhouette create visual clutter. Each shoe should present as a clean, contained shape.
Also: make sure every shoe is laced consistently. If one shoe has its tongue out and another has it tucked, it reads as careless.
Step 4: Lighting
Natural Light Is King
The best sneaker wheel photos use natural daylight. Specifically: diffused natural light from a large window or open shade outdoors. This gives even illumination without harsh shadows.
Best conditions:
- Overcast day (nature's softbox)
- Open shade outdoors (under a porch, in the shadow of a building)
- Near a large north-facing window indoors
Worst conditions:
- Direct sunlight (creates hard shadows and blown-out highlights)
- Mixed lighting (window light plus indoor lights creates color casts)
- Nighttime with flash (flat, harsh, amateur-looking)
Eliminating Shadows
Shoot from directly above. This eliminates most shadow issues because the light source (the sky, a window) is hitting the flat surface evenly. Any shadows cast by the shoes are small and fall directly behind/beneath them.
If you're seeing one side of the wheel significantly brighter than the other, you're too close to the light source. Move your layout to a more evenly-lit area.
The Bounce Card Trick
If one side of your wheel is slightly shadowed, place a large piece of white posterboard opposite the light source. It bounces light back into the shadows, evening out the exposure. This is a professional photography technique that costs $3 at a craft store. A collapsible light reflector does the same job and folds flat for storage.
Step 5: Shooting
The Overhead Shot
The sneaker wheel is shot from directly above — a true bird's-eye view. This is non-negotiable. Any angle other than directly overhead will distort the circle and make shoes closer to the camera appear larger than shoes farther away.
Phone method: Stand on a chair or stepladder directly over the center of the wheel. Hold your phone flat (parallel to the floor). Use the grid lines on your phone's camera to ensure you're level.
Pro tip: Most phones have a "level" indicator in the camera app that shows when the phone is perfectly parallel to the ground. Use it. Even a few degrees of tilt creates visible distortion.
Camera Settings
On a phone:
- Portrait mode OFF (you want everything in focus, not a shallow depth of field)
- HDR ON (balances highlights and shadows)
- Tap to focus on the center of the wheel
- Shoot at 1x zoom or wider — don't use digital zoom
On a camera:
- f/8 to f/11 for maximum depth of field
- ISO as low as possible (100-400)
- Tripod strongly recommended for overhead shots
- 35mm or 50mm focal length (wider lenses distort edges)
Shoot Multiple Frames
Take at least 10-15 shots with slight variations in position. You'll notice small alignment issues in the layout, one shoe that's slightly off-angle, or a shadow you missed. Having multiple frames to choose from is always better than nailing it in one shot.
Step 6: Editing
Basic Adjustments
Open your best shot in your editing app of choice (Lightroom Mobile, VSCO, Snapseed — all free or cheap, all excellent).
- Straighten — Crop to ensure the wheel is centered in the frame with equal space on all sides
- Exposure — Adjust so the brightest shoe isn't blown out and the darkest shoe still shows detail
- Contrast — Slight increase (+10-15) to make shoes pop from the background
- Saturation — Slight increase (+5-10) to make colors more accurate to real life
- Sharpness — Moderate increase to bring out texture and details
Advanced: Perspective Correction
If your shot was slightly off-angle (it usually is), use the perspective correction tool to square up the image. In Lightroom Mobile, this is under the "Geometry" section. The "Auto" correction usually works well.
What NOT to Do
- Don't over-saturate. Your shoes should look like they do in real life, not like candy.
- Don't use heavy filters. They date the photo immediately and distort colors.
- Don't add text overlays, stickers, or watermarks. Let the shoes speak.
- Don't crop too tight. Negative space around the wheel lets it breathe.
Step 7: Posting
Caption Strategy
The sneaker wheel is inherently engagement-friendly. Use it:
- "Pick one" — Simple, effective, drives comments
- "Current rotation" — Classic, informational
- "Which one are you wearing today?" — Personal, conversational
- "Left or right?" (for smaller collections) — Binary choice = easy engagement
Tag the brands. Tag the colorway-specific accounts. Use sneaker-specific hashtags: #sneakerwheel, #sneakerrotation, #kotd (kicks of the day), #sneakerhead. This is one of the few content types where hashtags still drive meaningful discovery on Instagram.
Carousel Option
Take the wheel photo plus individual close-up shots of each pair. Post as a carousel with the wheel first (attention-grabber) and detail shots following (for identification and appreciation). Carousels consistently outperform single images on Instagram's algorithm.
Beyond the Basic Wheel
The Color Gradient Wheel
Arrange shoes in color order — warm to cool, light to dark, or by hue. This creates a rainbow-like effect that's visually stunning when you have enough color variety.
The Brand Wheel
Dedicate each wheel to one brand. A Nike wheel, an adidas wheel, a New Balance wheel. This focuses the narrative and often generates brand-specific engagement.
The Seasonal Wheel
Arrange by season — the shoes you're wearing this spring, this summer, etc. This tells a story beyond just "look at my stuff" and gives context to the collection.
The Evolution Wheel
Chronological order from your first pair to your most recent. This personal narrative approach makes the photo more interesting than a random arrangement.
Equipment Upgrades (If You Want Them)
If you're posting sneaker content regularly and want to level up:
- Tripod with overhead arm (~$50) — Eliminates the shaky-hand problem of shooting overhead from a chair
- Ring light (~$30) — Provides even, shadow-free light for indoor shoots
- White vinyl backdrop (~$20) — Creates a seamless, clean background that's easier to work with than a floor
- Lightroom subscription ($10/month) — Full-featured editing with batch processing for consistent edits across multiple photos
None of these are necessary for good results. But they make good results easier to achieve consistently.
The Honest Take
A sneaker wheel is not high art. It's a flat-lay photo format that's been done a million times. But within that format, there's a real difference between "thrown together in 30 seconds" and "this person cares about their collection and how they present it."
The effort you put into the photo signals the effort you put into the collection. And in sneaker culture, that effort is the point.
Take the extra ten minutes to get the spacing right. Clean your surface. Wait for good light. Your sneaker collection deserves it.
Build a collection worth photographing with our sneaker buying guides and Nike Dunk history deep-dive.
RELATED READS
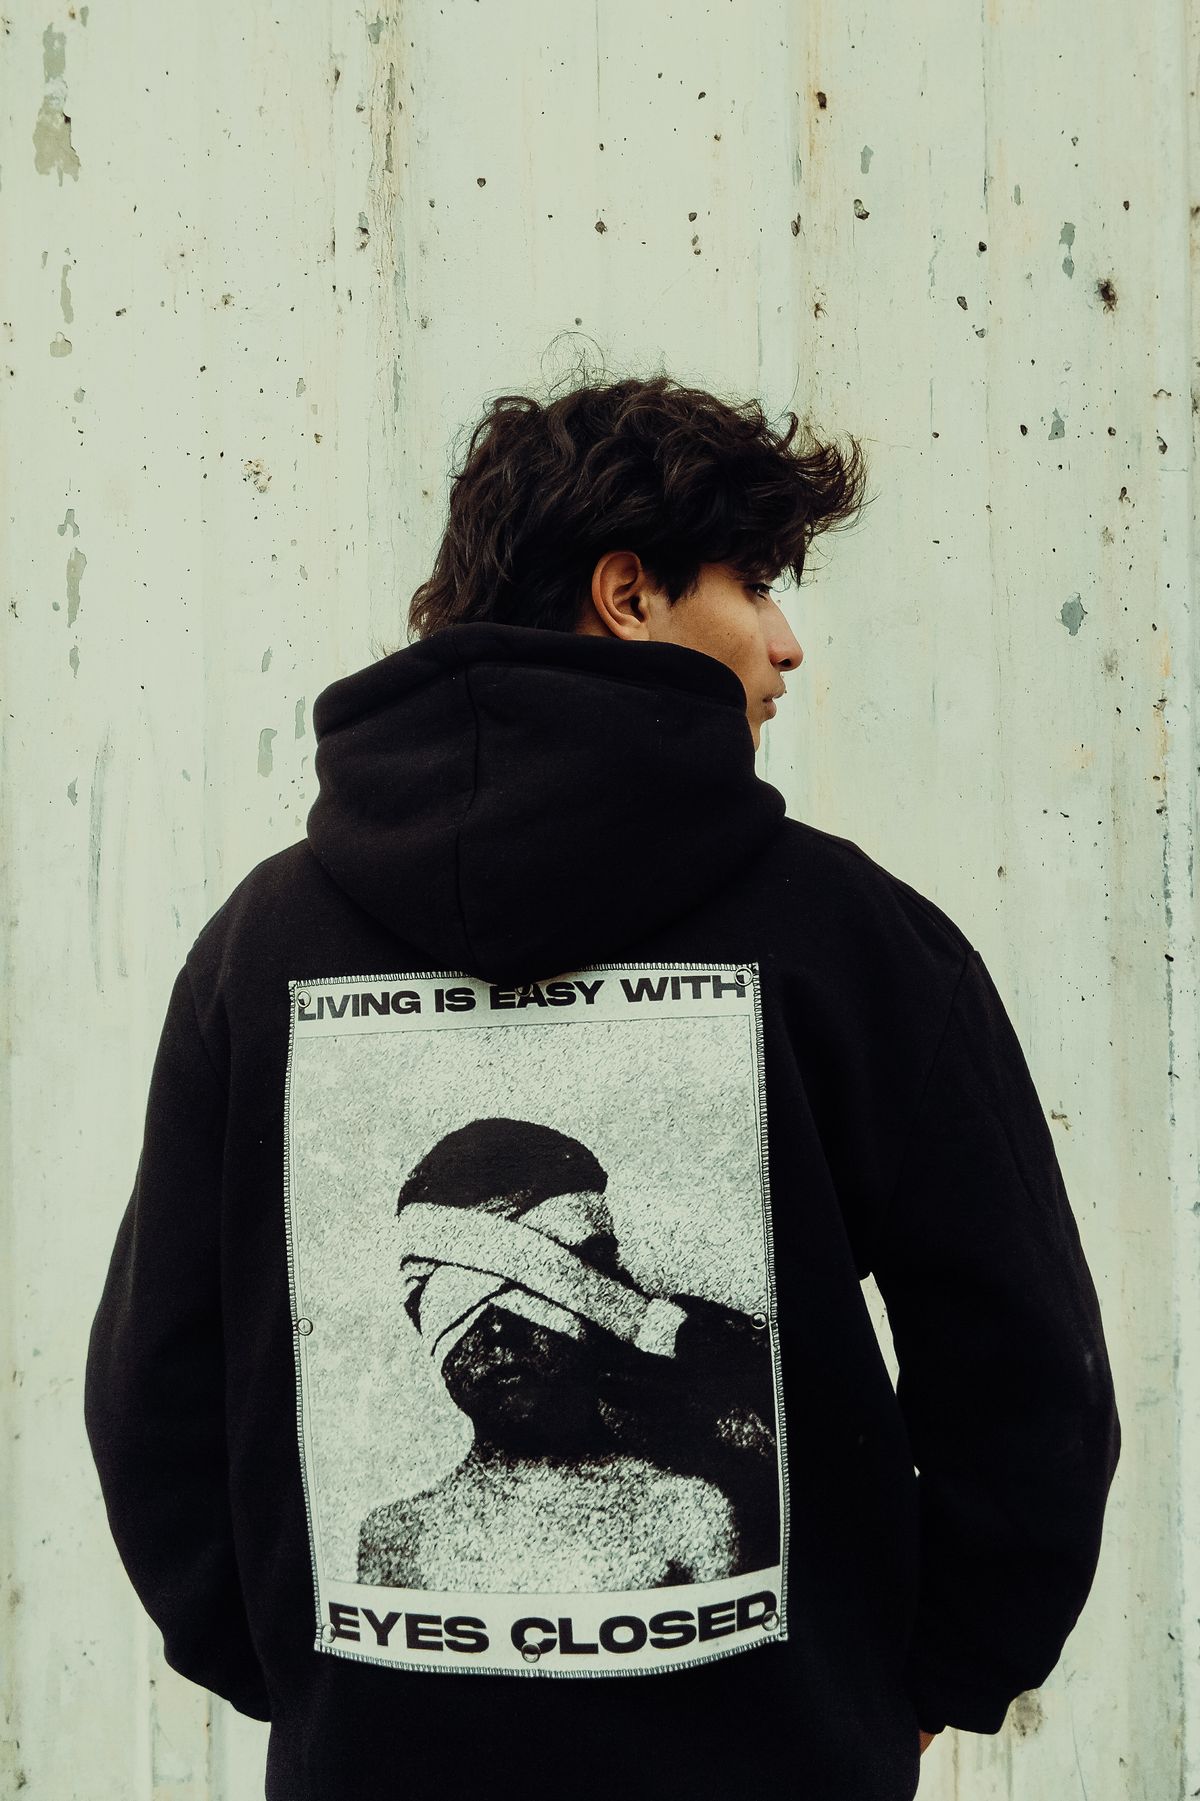
Best Heavyweight Hoodies for Streetwear in 2026 (400GSM+)
The definitive guide to 400GSM+ heavyweight hoodies — ranked by fabric weight, shrinkage, fit, and streetwear cred across every budget tier from $22 to $90.
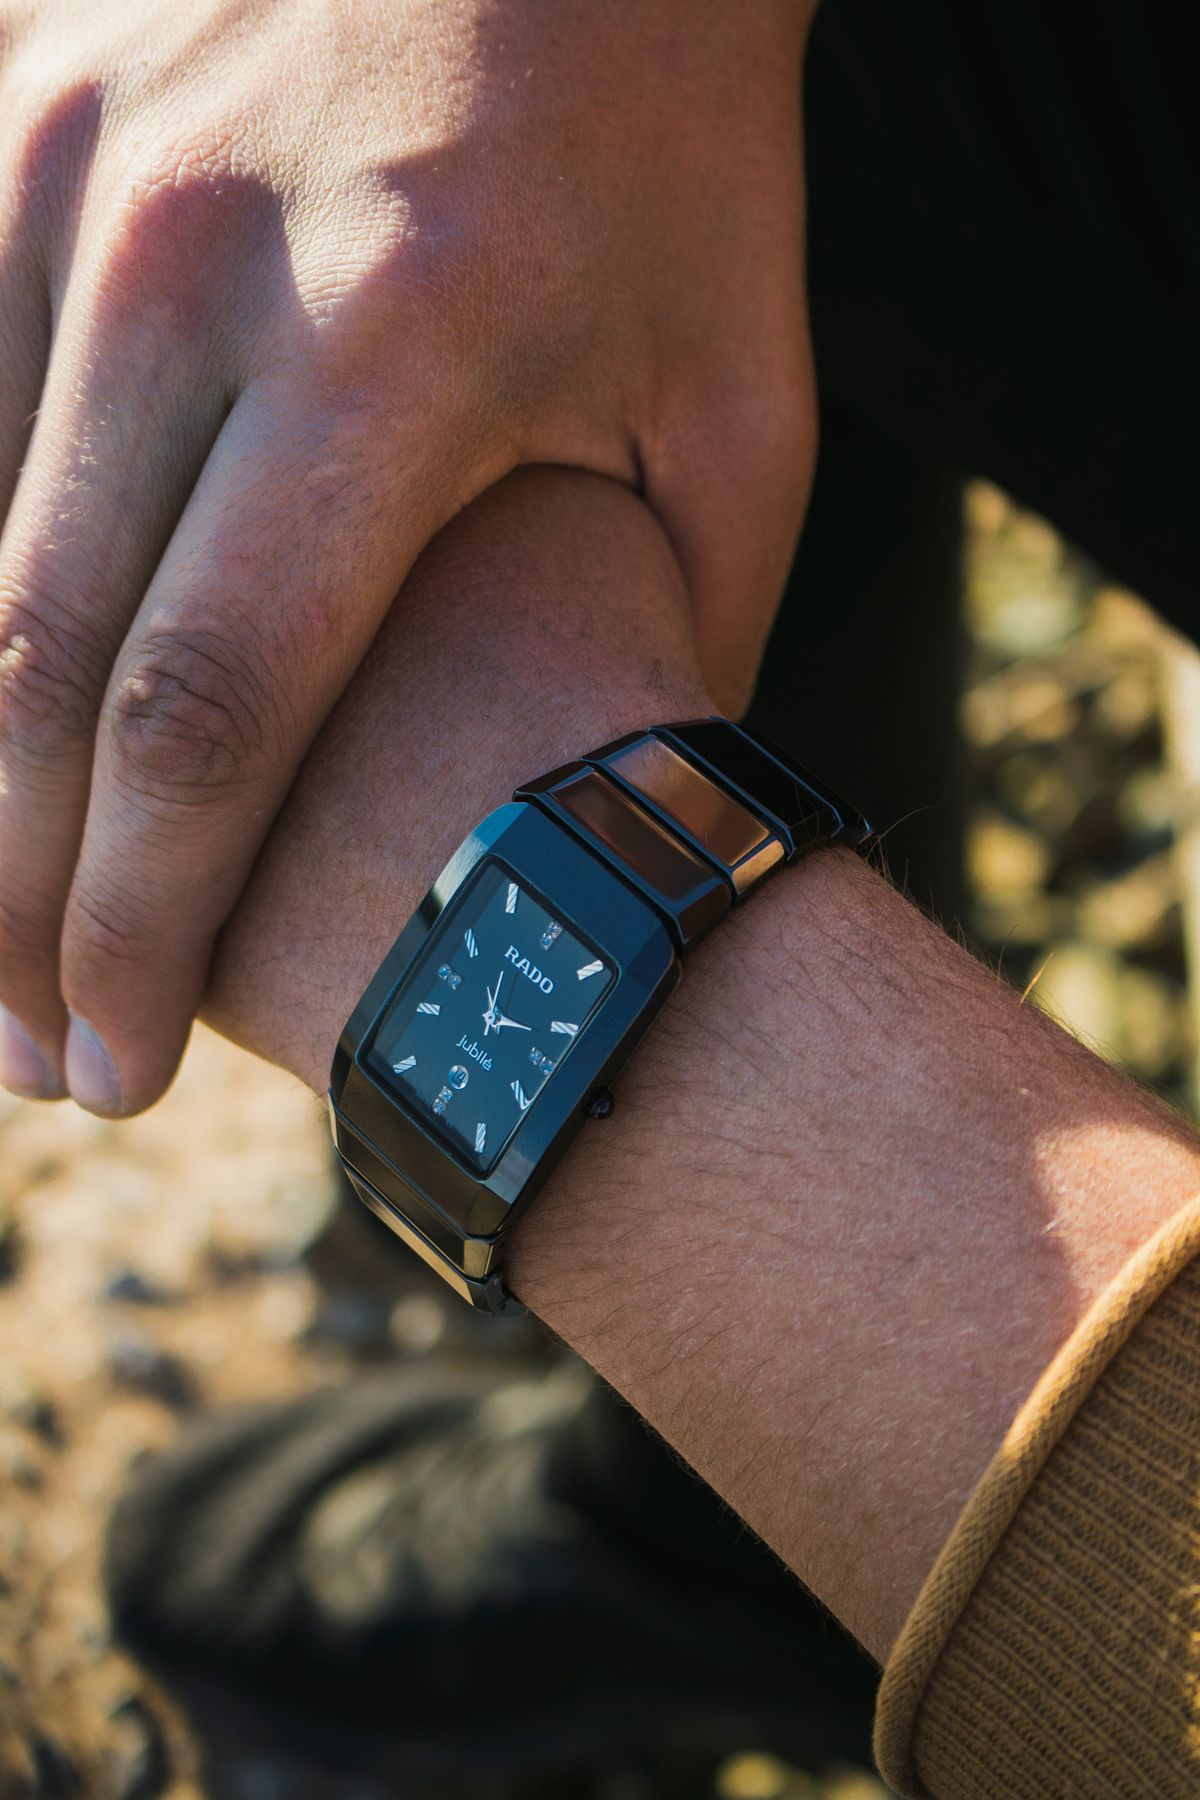
G-Shock Watches for Streetwear: The 2026 Buying Guide
G-Shock is back as streetwear's essential wrist piece. The best models for 2026 — DW-5600, CasiOak, GD-100, solar, full metal — with styling and sizing notes.

The Only Sneaker Cleaning Guide You Will Ever Need
Stop ruining your sneakers with bad advice. This is the complete guide to cleaning, protecting, and storing every type of sneaker you own in 2026.