
How to Photograph Your Fits: Streetwear Instagram Tips
Your fits deserve better than a mirror selfie with flash. Here's how to photograph streetwear for Instagram without a professional camera or a photographer friend.
Your Fits Are Only as Good as the Photos
You could be wearing the hardest outfit of 2026 and it won't matter if the photo looks like it was taken inside a microwave. Lighting, angles, background, and editing are the difference between a fit pic that gets saved and shared versus one that gets scrolled past in half a second.
The good news: you don't need a $3,000 camera, a studio, or a photographer friend. A phone made in the last three years and some basic knowledge will get you 90% of the way to professional-looking fit content. The remaining 10% is just practice and taste.
This guide is for the person who has clothes they're proud of and wants to document them properly. No fluff, no gear gatekeeping, just practical techniques.
Lighting Is Everything
This isn't an exaggeration. Lighting accounts for at least 60% of what makes a photo look good or bad. You can fix bad composition in editing. You cannot fix bad lighting.
Natural Light Rules
The best light for streetwear photography is natural, indirect sunlight. Think:
- Overcast days: Clouds act as a giant diffuser. The light is even, soft, and flattering. Colors look accurate. This is your best-case scenario.
- Golden hour: The hour after sunrise and before sunset. Warm, directional light that adds depth. Great for moody shots.
- Open shade: Standing in the shadow of a building while the sun is out. You get bright, even light without harsh shadows.
Light to Avoid
- Direct midday sun: Creates hard shadows under your chin, nose, and hat brim. Washes out colors. Makes you squint. This is the worst possible lighting for fit pics.
- Overhead fluorescent (like in stores): Green-tinted, unflattering, makes everything look institutional.
- Flash from your phone: Flattens everything, creates red eye, and makes textures look cheap. Turn it off. Always.
- Mixed lighting: Half natural light, half artificial light hitting you from different angles. It creates color casts that are impossible to edit cleanly.
Indoor Lighting That Works
If you're shooting inside, stand near a large window. Face the window so the light hits you from the front or slightly to the side. This creates the same soft, even light as an overcast day.
If your windows are small or your place is dark, a ring light or LED panel helps. The Neewer Ring Light is a solid budget option. Set it to daylight color temperature (5500K) and position it at eye level, slightly above.
Angles and Framing
The Full-Body Shot (Essential)
This is the baseline. People need to see the full outfit — shoes to hat (or hairline).
How to frame it:
- Camera at waist height. Not chest height (makes your legs look short), not floor level (distorts proportions). Waist height gives the most accurate representation of your actual proportions.
- Leave space above your head and below your shoes. Don't crop at the ankles or the top of your head.
- Stand naturally. Don't suck in your gut, don't flex, don't do whatever that one leg forward pose is. Just stand like a person.
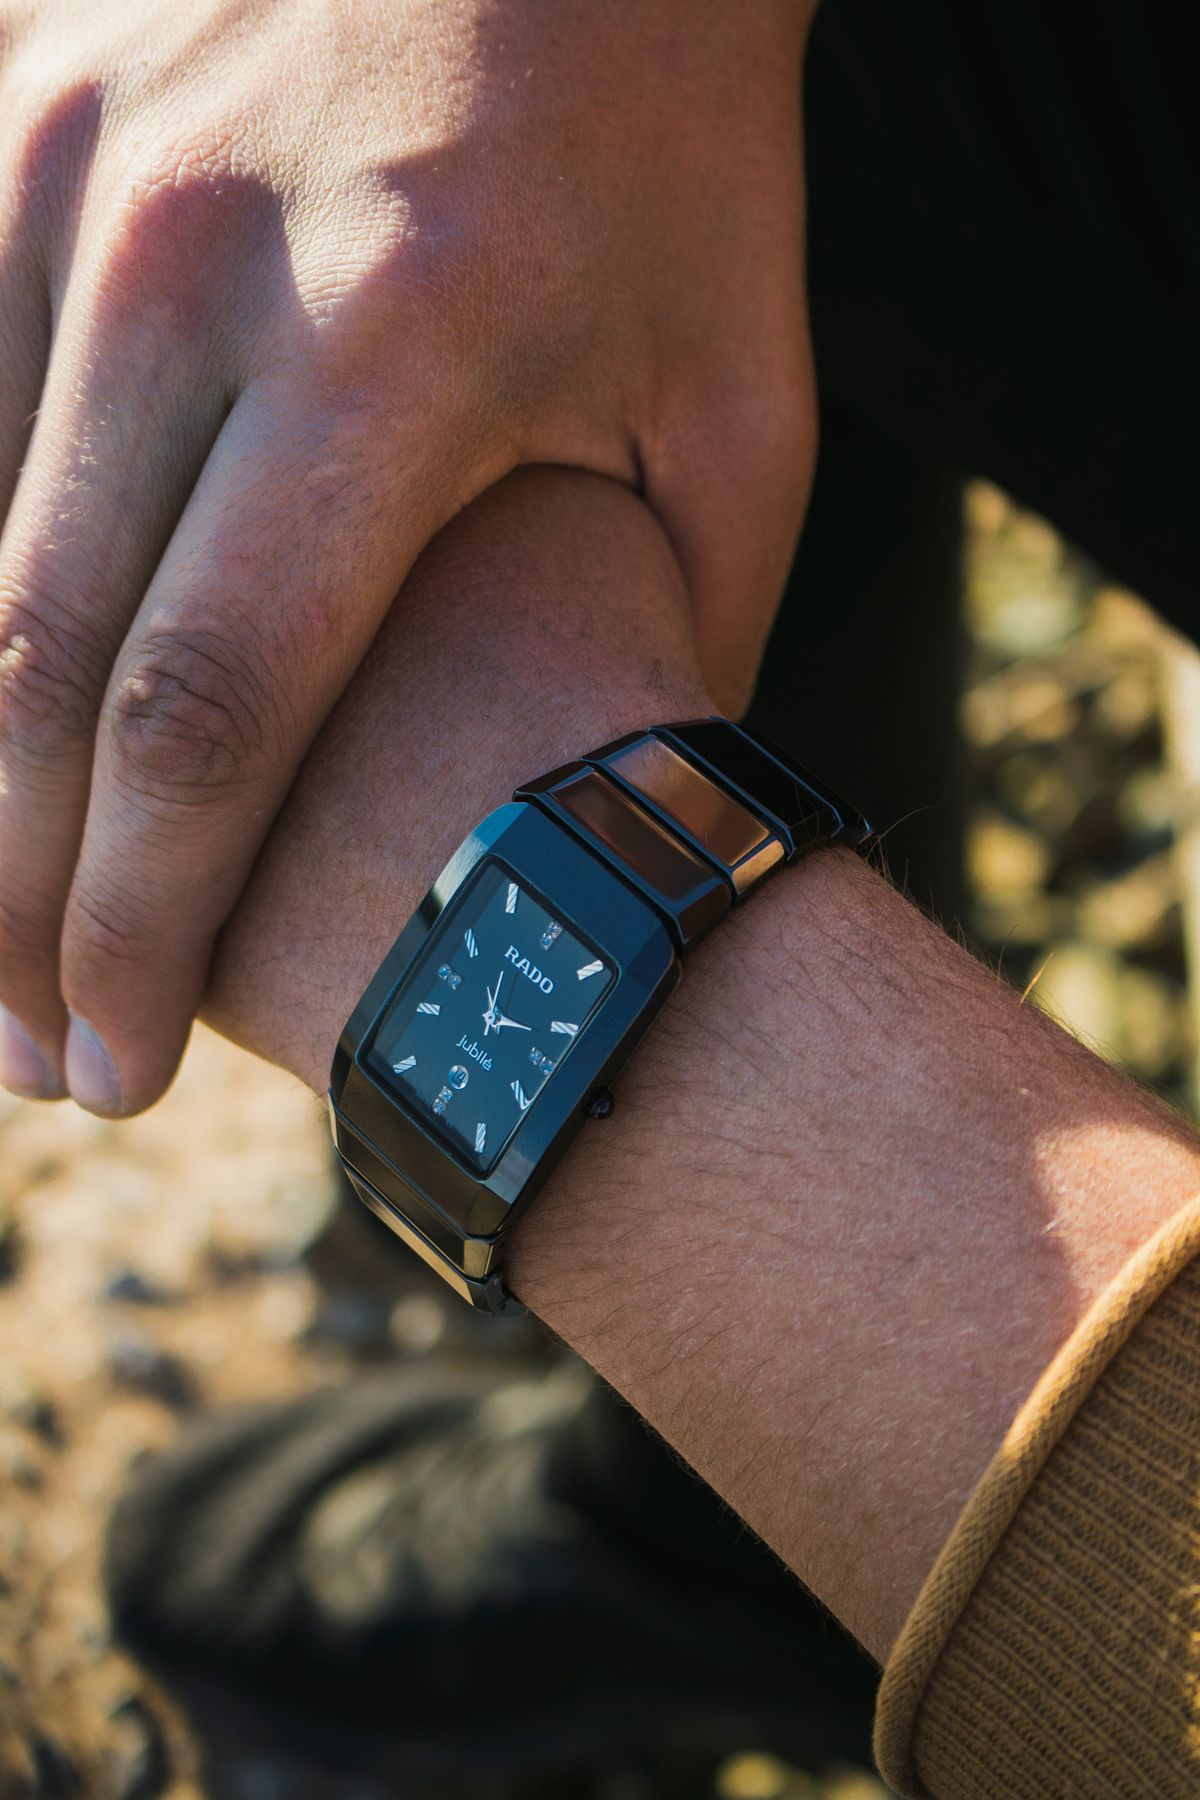
The Detail Shot
Show what makes the outfit special. Close-ups of:
- Shoe details and colorways
- Graphic tee designs
- Accessory arrangements
- Texture combinations (leather against cotton, mesh against denim)
- Tags and branding if it's relevant
These shots add depth to your content and give people reasons to engage. A full-body shot says "here's my outfit." A detail shot says "here's why each piece matters."
The Three-Quarter Shot
Camera captures you from roughly mid-thigh up. This is the sweet spot for showing off upper-body layering, jacket details, and accessory styling without the full formality of a head-to-toe shot.
The Movement Shot
Someone walks, turns, or adjusts their jacket while the camera captures mid-motion. These feel candid and lifestyle-oriented rather than posed. They work especially well for video content — more on that later.
Backgrounds That Work
Your background communicates as much as your clothes. Choose deliberately.
Best Backgrounds for Streetwear
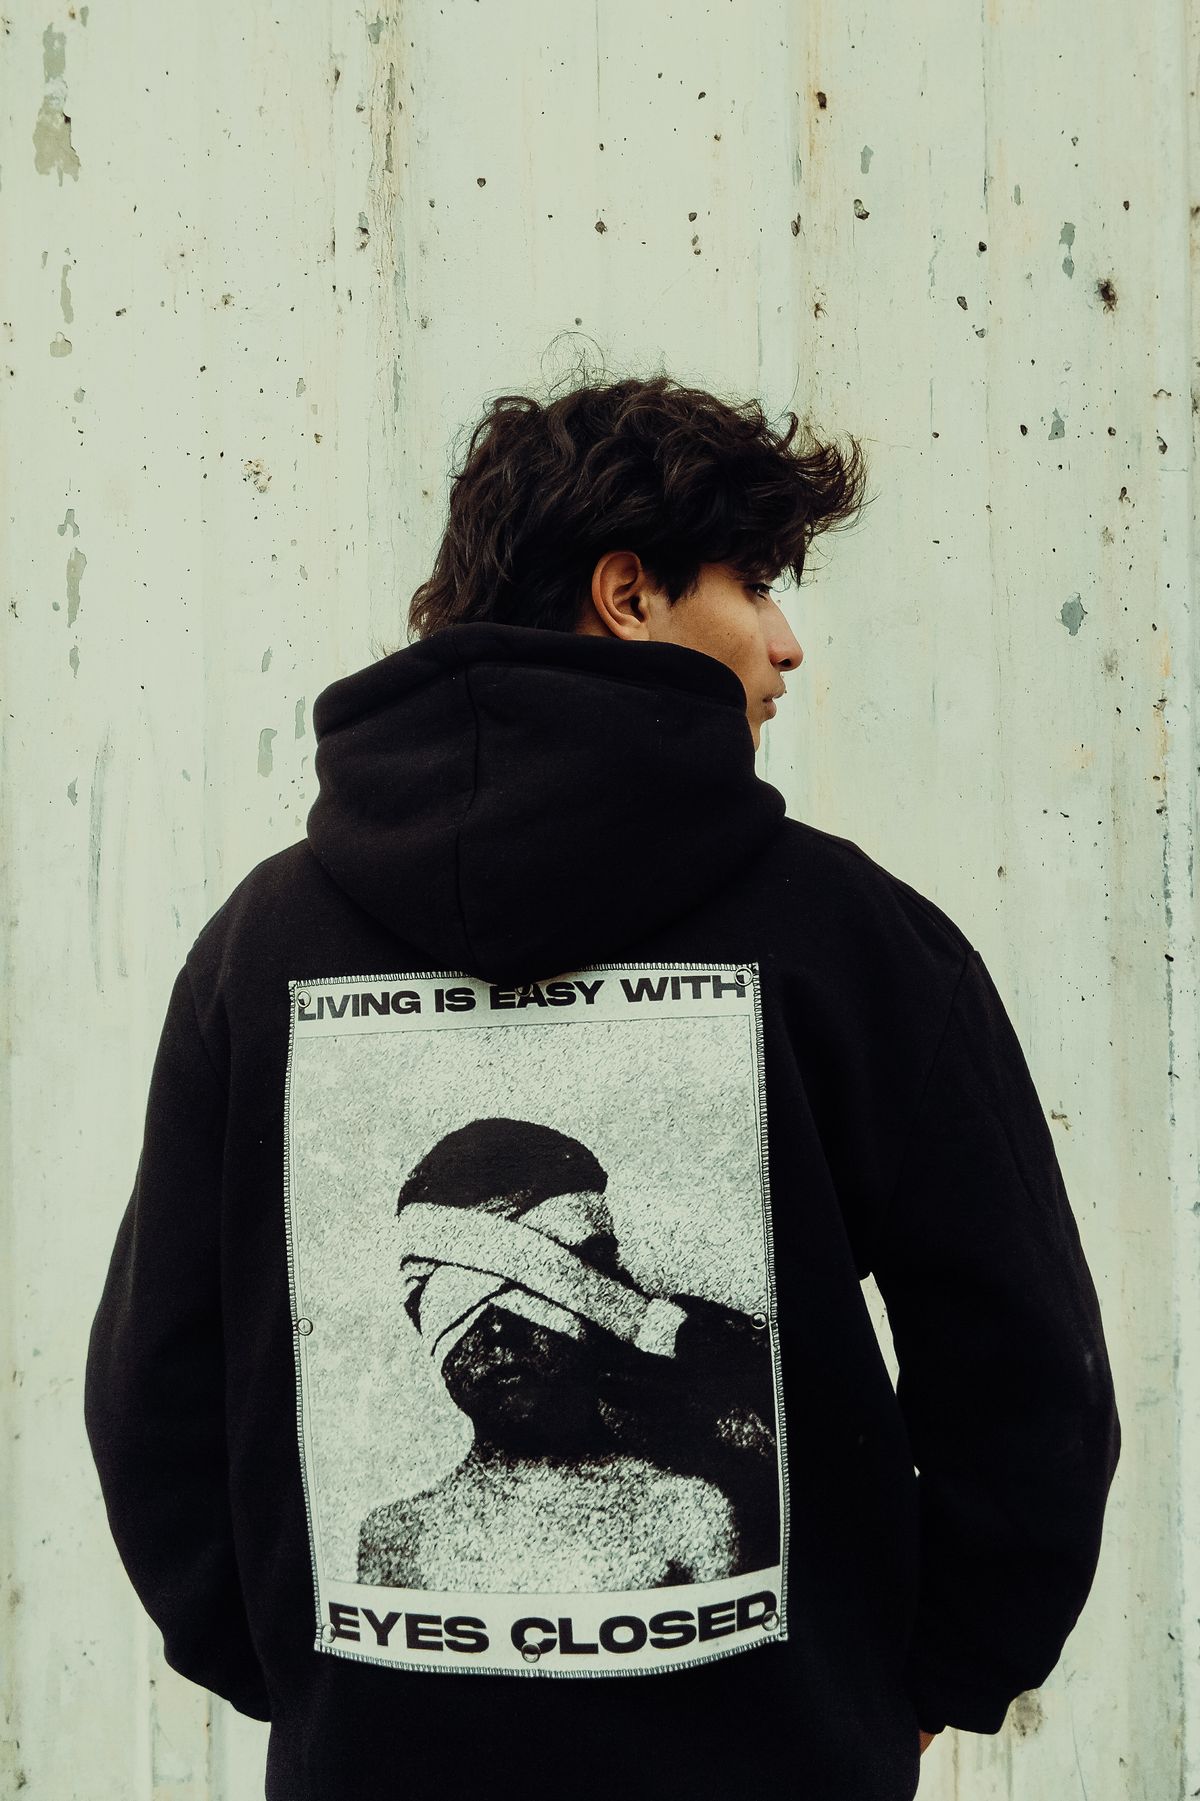
- Concrete walls: Clean, urban, lets the clothes be the focus. Grey concrete is essentially a neutral studio backdrop that exists everywhere.
- Brick walls: Adds texture without competing with the outfit. Works especially well with earth-toned fits.
- Parking garages: The lines, lighting, and industrial feel complement streetwear perfectly. Go during off-peak hours.
- Murals and street art: Bold choice. Works if the mural's colors complement (not clash with) your outfit.
- Storefronts with clean signage: Adds urban context. Especially good if the store has an aesthetic that aligns with your style.
Backgrounds to Avoid
- Your messy bedroom. Please. No. Clean it up or find somewhere else.
- Bathrooms. The toilet and shower curtain are never adding to the vibe.
- Overly busy locations. Times Square, crowded intersections, anywhere where there's more visual noise than your outfit can compete with.
- Your car interior. It's dark, cramped, and the angle is always unflattering.
Phone Camera Settings and Techniques
Use the Main Lens
Your phone has multiple cameras. Use the main wide lens (usually 1x) for fit pics. The ultra-wide distorts proportions — it makes whoever's closest to the camera look larger. The telephoto (2x or 3x) compresses features in a flattering way but requires more distance.
Portrait Mode (Use Carefully)
Portrait mode blurs the background, which can look professional. But it sometimes clips the edges of your outfit — especially hats, hoods, and anything that extends away from your body silhouette. Check the edges before posting.
HDR On
Most modern phones have automatic HDR that balances bright and dark areas. Leave it on. It helps maintain detail in both your outfit and the background.
Grid Lines On
Enable the grid overlay in your camera settings. Use the rule of thirds — place yourself at one of the intersecting lines, not dead center. Center framing works for some shots, but off-center framing is more visually interesting and feels more intentional.
Timer and Tripod
If you're shooting solo, a phone tripod and a 3-10 second timer are essential. The UBeesize Phone Tripod is $20 and does the job. Set it up, start the timer, walk into frame, and hold your pose. Take 20 shots and pick the best one.
Editing: Less Is More
The Apps
- VSCO: The gold standard for film-inspired presets. Clean, not overdone.
- Lightroom Mobile: More control than VSCO. Free version is sufficient.
- Snapseed: Google's free editor. Surprisingly powerful.
- Native phone editor: Honestly, the built-in editors on iPhone and Android are good enough for basic adjustments.
The Edits That Matter
- Exposure: Brighten slightly if the photo is too dark. Don't blow it out.
- Contrast: Bump it up 10-20 points to make the outfit pop against the background.
- Saturation/Vibrance: Increase vibrance slightly (it affects muted tones more than saturated ones, which looks more natural). Don't crank saturation — it makes everything look radioactive.
- Shadows: Lift shadows slightly to reveal detail in dark clothing (especially important for all-black fits).
- Sharpness: A slight bump helps, especially for phone photos. Don't overdo it or textures look crunchy.
The Edits to Avoid
- Heavy filters that dramatically change colors. Your outfit should look like it does in real life. If people see you in person and can't recognize the clothes from your photo, your editing is wrong.
- Skin smoothing. This isn't a beauty shoot. Keep textures real.
- Over-sharpening. If you can see halos around edges, you've gone too far.
- Aggressive cropping. Crop minimally. Losing the shoes or the top of a hat defeats the purpose.
Video Content: The New Standard
Static fit pics aren't enough anymore. Instagram Reels, TikTok, and even Stories demand movement.
The Basic Fit Check Video
- Start with a close-up detail (shoe, graphic, accessory)
- Pan or cut to the full outfit
- Add a turn or movement
- End on a strong pose or walk-away
Keep it under 15 seconds. Use trending audio or no audio (for the "clean" aesthetic that does well in streetwear circles).
The OOTD Walkthrough
Talk through the outfit. What each piece is, why you chose it, what the total cost was. This format performs well because it provides value — people learn about the brands and pieces, not just the outfit.
Transitions
The item-appears-on-your-body transition (throw a jacket in the air, cut to wearing it) is overplayed but still effective if executed cleanly. The key is matching the position and lighting between cuts.
Building Your Streetwear Feed Aesthetic
Consistency matters more than any individual post. Here's how to build a cohesive feed:
Pick an Editing Style and Stick With It
Choose warm or cool tones, high or low contrast, saturated or muted — and apply it consistently. A feed where every photo looks like it was edited by a different person feels chaotic.
Alternate Content Types
Don't post 10 full-body fit pics in a row. Mix in detail shots, lifestyle photos, shoe close-ups, and flat lays. This creates visual variety while maintaining your theme.
Background Consistency
You don't need to shoot in the same location every time. But having 2-3 go-to spots gives your feed a recognizable visual identity. That parking garage becomes your studio. That brick wall becomes your signature backdrop.
Show Range
Post different styles, different vibes, different color palettes. A feed of nothing but all-black fits is monotonous. Show that you can do monochrome, do color, do layered, do minimal. The variety proves styling ability.
Flat Lays: The Overhead Shot
Flat lays — laying out your outfit on a clean surface and shooting from directly above — are useful for showcasing individual pieces.
Surface options: Clean white bedsheet, wood floor, concrete.
Arrangement: Place pieces roughly where they'd sit on a body. Shoes at the bottom, hat at the top, accessories to the side. Fold items intentionally — don't just throw them down.
Camera position: Directly overhead. No angle. Use a chair or ladder to get height.
Flat lays work best for graphic tees and sneakers where the design details matter more than the drape and fit.
Posting Strategy (Brief)
This isn't a social media marketing guide, but a few essentials:
- Post when your audience is active. Generally 6-9 PM local time on weekdays, 11 AM-1 PM on weekends.
- Use relevant hashtags. #StreetWear #OOTD #FitCheck #[BrandName] #[SneakerModel]. Don't use 30 hashtags. 8-12 targeted ones.
- Engage with your community. Comment on other people's fits. Streetwear Instagram is a community, not a broadcast platform.
- Cross-post to TikTok. The same content works on both platforms, often with different audiences.
Common Mistakes
The bathroom mirror selfie. We talked about this. Just don't.
Flash photography. Makes a $200 hoodie look like a $20 hoodie. Natural light only.
Dirty mirrors/lenses. Wipe your camera lens before shooting. A smudge on the lens creates a haze over everything that no editing can fix.
Ignoring the shoes. Your photo cuts off at mid-shin. Nobody can see what you're wearing on your feet. Frame the full outfit or take a separate shoe shot.
Over-editing skin but under-editing clothes. If you're smoothing your face but leaving the outfit looking flat, your priorities are backwards for a fit pic. Focus on making the clothes look their best.
The Bottom Line
Good fit photography is a skill, not a talent. You learn it by taking hundreds of photos, reviewing what works, and iterating. Your first 50 fit pics will be mid. Your next 50 will be better. By 100, you'll have a process that consistently produces content worth posting.
The outfit comes first — always. But the photo is what introduces that outfit to the world. Give your fits the presentation they deserve.
For more on building your wardrobe, check the shop and our best streetwear brands guide.
RELATED READS
Best Heavyweight Hoodies for Streetwear in 2026 (400GSM+)
The definitive guide to 400GSM+ heavyweight hoodies — ranked by fabric weight, shrinkage, fit, and streetwear cred across every budget tier from $22 to $90.
G-Shock Watches for Streetwear: The 2026 Buying Guide
G-Shock is back as streetwear's essential wrist piece. The best models for 2026 — DW-5600, CasiOak, GD-100, solar, full metal — with styling and sizing notes.

The Only Sneaker Cleaning Guide You Will Ever Need
Stop ruining your sneakers with bad advice. This is the complete guide to cleaning, protecting, and storing every type of sneaker you own in 2026.